
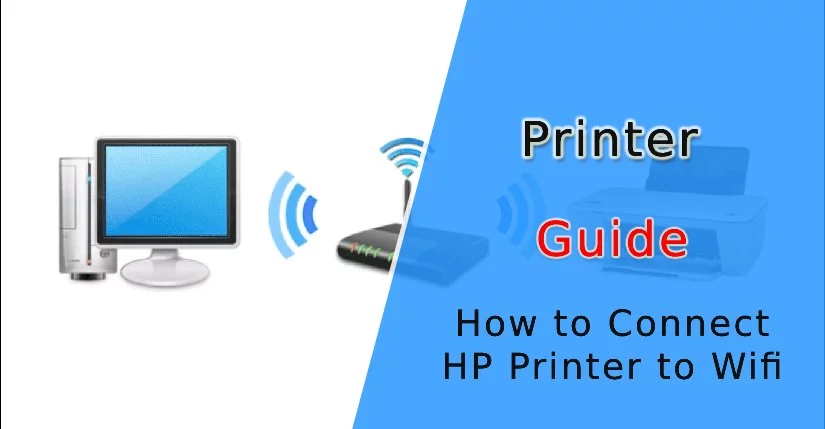
How do I Connect My HP Printer to Wi-Fi?
This article will help you to connect HP Printer to Wi-Fi. Doing so will permit you to print from a computer on a similar network without having to connect the printer to your computer. Since, not every HP printers have wireless functionality, so be confirm your printer is capable of connecting to the internet before proceeding. Follow the mentioned below procedures to easily connect HP Printer to Wi-Fi.
Method 1: Connecting Automatically
- Make Confirm that your Computer & Network are Compatible:
In order to utilize HP Auto Wireless Connect, your computer & network configuration must meet the following requirements.
- Your Computer must be executing Windows Vista or later (PCs) or OS X 10.5(Leopard) or later (Macintosh).
- Your Computer should be attached to an 802.11 b/g/n wireless router over a 2.4 GHz Connection. 5.0 GHz Connections are not presently supported by HP.
- Your Computer’s operating system should be in control of the wireless network.
- Your Computer should use the wireless connection to your network & operating system.
- Your Computer should use an effective IP address, not a static one ( if you haven’t paid in a clear or detailed manner for a static IP address, you most probably have a dynamic IP address.)
2) Look for your printer’s software:
Visit Trustyread– Software & Driver downloads & enter your printer’s model number. Hit Find & hit Download next to the top software entry.
3) Double-hit the software file:
It will launch a printer setup process.
4) Switch on your Printer:
If your printer is well-matched with HP Auto wireless connect, doing so will set the printer to connect.
- The printer will only maintain this setting for two hours.
5) Follow the On-screen commands until you reach the network section:
This will differ depending on your printer model & computer operating system.
6) Choose Network(Ethernet/Wireless)
This choice is in the middle of the page.
7) Tap (Yes, send my wireless settings to the printer):
Doing so will find the printer and send your wireless network’s information over to the printer.
8) Wait for your Printer to connect:
It may take a few minutes before your printer is able to connect. Once it does, you would notice a confirmation on your computer’s screen.
9) Complete the Setup process:
Finish the setup on your computer by subsequently following the rest of the on-screen prompts. Once the setup is finished, you will be able to start using your printer.
Method 2: Connecting Manually
- Make confirm your printer is installed on your computer:
In most circumstances, all you require to do is connect the printer to your computer using USB cable & permit it to install its software, however many printers also come with installation CDs.
2) Switch on your Printer:
Make clear that your printer is connected to a power source, then click the power button.
3) Activate the touch screen if compulsory:
Some printers require to have their touch screens folded out or turned on separately of the printer itself.
- If your printer do not have a touch screen, you will require to connect the printer to your wireless network using the software setup method. If your printer is previously installed, you may require to uninstall the printer & then install it again in order to connect to wireless network.
4) Choose ‘setup’:
This option’s situation & appearance will differ depending on your printer, but it often most frequently characterized by a wrench or a gear.
- You may have to scroll down or to right in order to locate the Setup alternative.
- You may have the option to choose Wireless as well. If so click Wireless instead.
5) Choose ‘Network’:
Performing this will open the wireless settings.
6) Choose ‘Wireless Network Wizard’:
This will provoke the printer to start searching for wireless network.
- You may choose Wireless setup Wizard instead.
7) Choose your ‘Network name’:
This would be the name that you allotted to your wireless network, when you created it.
- If you haven’t set a network name when you setup your wireless network, you will probably see a combination of your router’s model number & manufacturer name instead.
- If you don’t locate your network’s name, go down to the bottom of page, choose the field there & fill your network’s name.
8) Fill your Network’s password:
This is the same password that you use to log on to your wireless network.
- If your router have a WPS button on it, you can instead tap & hold this button for three seconds.
9) Choose ‘done’:
This will save your data. The printer will start attempting to connect to the network.
10) Choose ‘OK’ when prompted:
You must now be able to print over your wireless network. We wish that by following the above methods carefully, you have successfully connected the HP printer to Wi-Fi. If in any situation if you are unable to do so or any issue comes across you while doing so, no need to worry, you can totally rely on our toll-free How do I Connect My HP Printer to Wi-Fi whenever require. We assure to offer guaranteed solutions so that any further issues may not come across you in the future also. We work with a motto to offer the best and instant support as soon as possible under the guidance of certified professionals who are accessible round the clock to assist you with value-added solutions.
How to connect to a Wireless Printer?
Installing a wireless printer is a comparatively simple task that takes just about 20 to 30 minutes and can be finished by someone with intermediate computer skills. If you have installed a wireless network, you can without difficulty install a wireless printer.
Methods to connect to a Wireless Printer:
Follow the mentioned below steps in a sequential manner to reliably connect to a Wireless Printer of your own without any technical support:
- Take the printer out of the box and check it. Make clear that none of the parts are broken. Eradicate any special tabs by following the information that came with your printer. You don’t wish to power on when there are packing tabs in place as this can harm your printer.
- Once the printer is set to go, plug it in and power it on. There should be an interactive set-up screen on the printer that you can use to specify the suitable wireless settings. You’ll want to use the similar security settings on the printer that you have set on your wireless router.
- After entering your settings on the printer, you’re prepared to head to your computer and install the drivers with the CD that came with the printer. If you don’t have the CD, visit the manufacturer’s site for the latest drivers.
- After the proper drivers are installed, your computer must begin recognizing the printer. If it doesn’t identify the printer, make clear that the settings on the printer itself are correct. Ensure the driver settings on your computer. To carry out this, go to the “Start” menu and choose the “Devices and Printers” link. If your new printer doesn’t show, press “Add a printer.” In the Add Printer wizard, tap “Add a network, wireless or Bluetooth printer.” Choose the new printer from the list of available printers and tap “Next.” Finish the further steps in the wizard and tap “Finish.
- Troubleshoot troubles by entirely uninstalling old drivers and installing the new ones. Validate that your printer settings are correct. Also make clear that you have the latest driver download from the manufacturer’s website.
Final Words
We hope that after following the above-mentioned step, you would successfully be able to connect Wireless Printer. If you are unable to do so, or any issue comes across you while doing so; no need to worry for this; simply dial Printer Support Number for best and instant assistance under the guidance of professionals who are accessible day and night round the clock to assist you with value-added solutions.


